Teaching With Technology: A Comic Life
As a storytelling medium, comics have come of age in the last few decades. With an enduring history in North America as a venue for superhero quests, they have entertained many a young reader. When Will Eisner published A Contract with God in 1978, comics took a step forward and the graphic novel was born.
Graphic novels have become the obsessive read for our students. They are enthusiastic about the easier to read ones such as Sardine and Baby-mouse Queen of the World, and about the meticulously researched Age of Bronze series. There’s something for everyone: from girls’ favourites such as Amelia Rules! to the ever popular Bone series to those that are popular with teens, like Re-Gifters and Full Metal Alchemist.
Many titles lend themselves to fruitful literature circle conversations. The cross-cultural explorations of American Born Chinese and The Arrival are two fine examples. The more didactic series such as Phonics Comics and the Timeline sets can serve as updated teaching tools. Phonics Comics is a line of phonetically based easy-readers designed as comic books. The Timeline titles draw readers into curriculum-linked historical stories. (They come with teacher’s guides.) In-depth curricular connections are possible with powerful historical fiction like Maus: A Survivor’s Tale and Louis Riel: A Comic-StripBiography.
The proliferation of this literary form and the growing collections of graphic narrative titles in our classrooms and school libraries are tangible evidence of the joy students’ take from reading and of their engagement with this form of expression. Integrating technology with the study of comics, using software like Comic Life, can breathe new life into learning. 1
To capitalize on students’ engagement with graphic novels, let’s take a look at how to develop a comics unit as part of teaching media literacy. Here is a list of learning activities to support your students’ reading and deconstruction of the visual language of comics. As the students hone their visual literacy skills, they will begin to understand what Will Eisner calls the “grammar of sequential art.”2
- Begin with a comparison of magazine cartoons, comics, and graphic novels. Focus on the basic conventions: fonts, images, drawing style, inking for outline, icons, panels, colour or black and white design, dialogue, action, and characters.
- Be explicit with the vocabulary of the genre, such as gutter and panel-to-panel transitions.
- Have students review familiar graphic novels to identify examples of the conventions.
- As a think-pair-share activity, have the students record (draw and label) examples of font (for titles and sound effects), panel shapes, word bubbles (e.g., whisper = dash lines, speech bubble, thought bubble, etc.), and captions, also known as narrative (text) boxes.
- Discuss the different kinds and uses of word bubble tails (sharp angle for terse dialogue, slight curve for calm voice, extended for far-away or offstage dialogue), as they relate to character development and mood.
- To explore the text and production conventions of the genre, lead more advanced students to study page layout and panel transitions. Highlight the concept of “the power of suggestion” that “lies in the gutter.”
- Discuss “the seen and the unseen, the visible and the invisible”4 in panel design and illustration choice as they relate to story development.
- Have students review familiar graphic novels to identify samples of the transitions.
Writing stories for comics
To lead into writing for comics, share with the students the secret of successful storytelling: Show, Don’t Tell. Following this dictum requires succinct use of text.
Students start with a writing plan. As a story outline, it may begin with sketches to visualize the characters and setting and/or a story map to list aspects of the setting, characters, plot, problem, and resolution. This is the springboard for a prose summary of the storyline. Once they have drafted their writing plan, the students write a script with dialogue for their character(s) and captions for narration. Following the usual steps in the writing process, the students have their work peer-edited, revise it, and have it approved by the teacher.
Next students have to decide on the visuals they will use. Younger students may choose to draw pictures or create scenes with toys such as Lego, stuffed animals, or action figures. You can take simple shots of these displays with a digital camera and load them into a photo bank. Or you can scan the images they draw on paper. If students are not using computers, you can print these out for them.
Students can also use photos they have taken with a digital camera. They can use the school’s digital camera, bring their own cameras to school, or bring in a file from home on a USB memory stick or CD. They will need around 20 photos for their photo bank. Remind them to consider the mood of their story, which should inform their decisions when taking photos. This leads to the “10-Shot Lesson”5: students select 10 usable photos to tell their story or reflect the mood of a topic. With background lessons on basic photography skills, students can make informed decisions for their photo selections (see sidebar).
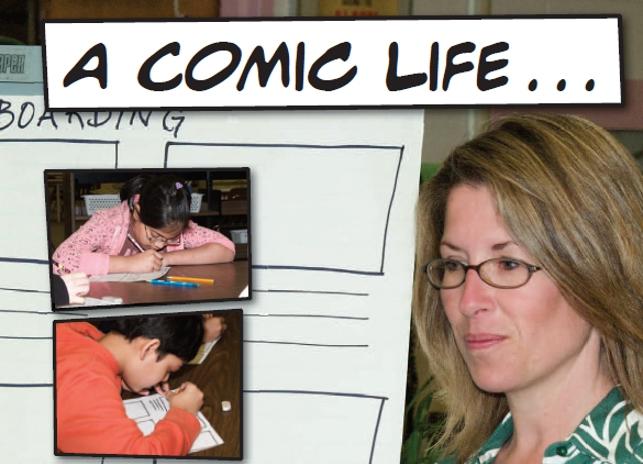
Students storyboard their tale by sketching images of the 10 selected photos, in sequence, and noting the dialogue from their scripts. The storyboard template is an organizational tool. You can find many examples online. I use a simple six-square template, with three lines below each box. These serve as a way to sequence the visuals and match the dialogue. The sketches are quick stick-figure representations of the photo image, just to capture the visual. Ask the students to label each sketch as to the camera shot and angle, using their understandings from the photography lesson.
This storyboard can serve as a formative assessment tool, particularly in a teacher-student writing conference.
With their storyboards in hand, the students are ready to create the final version of their own comics or graphic novels. If they are working on paper, print out copies of different panel layout pages that you can get from a 30-day trial version of Comic Life at plasq.com. Students draw their images or cut out and glue their photos into the panels. They create speech bubbles and lettering, cut them out and glue them on as another layer. This production method gives students a hands- on opportunity to display their artistry. School visits by comic artists like Chad Solomon, author of Adventures of Rabbit and Bear Paws,6 can inspire confidence in drawing and design.
Students can create their comics digitally if they have access to a computer lab. I began our earliest versions with Kid Pix, software licensed through the Ministry of Education. The graphics for backgrounds and stamps lend themselves well to the comics medium. The downside is that you have to create the speech bubbles manually with the draw tool. Also, the individual drawings do not fit into a panel layout page. Connecting them with the slide-show feature creates something more like a cartoon than a comic.
I’ve found that Comic Life is just the right software. The wide range of panel choices, layouts, lettering, and speech bubbles opens up the graphic possibilities. It is a great forum to set free students’ creativity and critical thinking. If possible, at this point of the unit I would recommend sending the students to the computer to upload their photos and write their stories in Comic Life.
Notes
1. Charles Thacker, “How to Use Comic Life in the Classroom.” MacInstruct TechEd,Technology in Education,macinstruct.com/node/69.
2. Will Eisner, Comics and Sequential Art: Principles and Practice of the World’s Most Popular Art Form. Paramus, NJ: Poorhouse Press, 1985.
3. For explanations of these and other terms common to the genre, see Scott McCloud, Understanding Comics: the Invisible Art. New York: Harper Perennial, 1994.
4. McCloud, p.
5. Lesson design adapted and used with permission of Jack Hammond, teacher, Stouffville District Secondary
School, York Region District School Board.
6. Chad Solomon and Christopher Meyer, Adventures of Rabbit and Bear Paws, The Sugar Bush. Edmonton: Lone Pine Publishing, 2006. Available at lonepinepublishing.com.
7. Thacker, “How to Use Comic Life in the Classroom.

